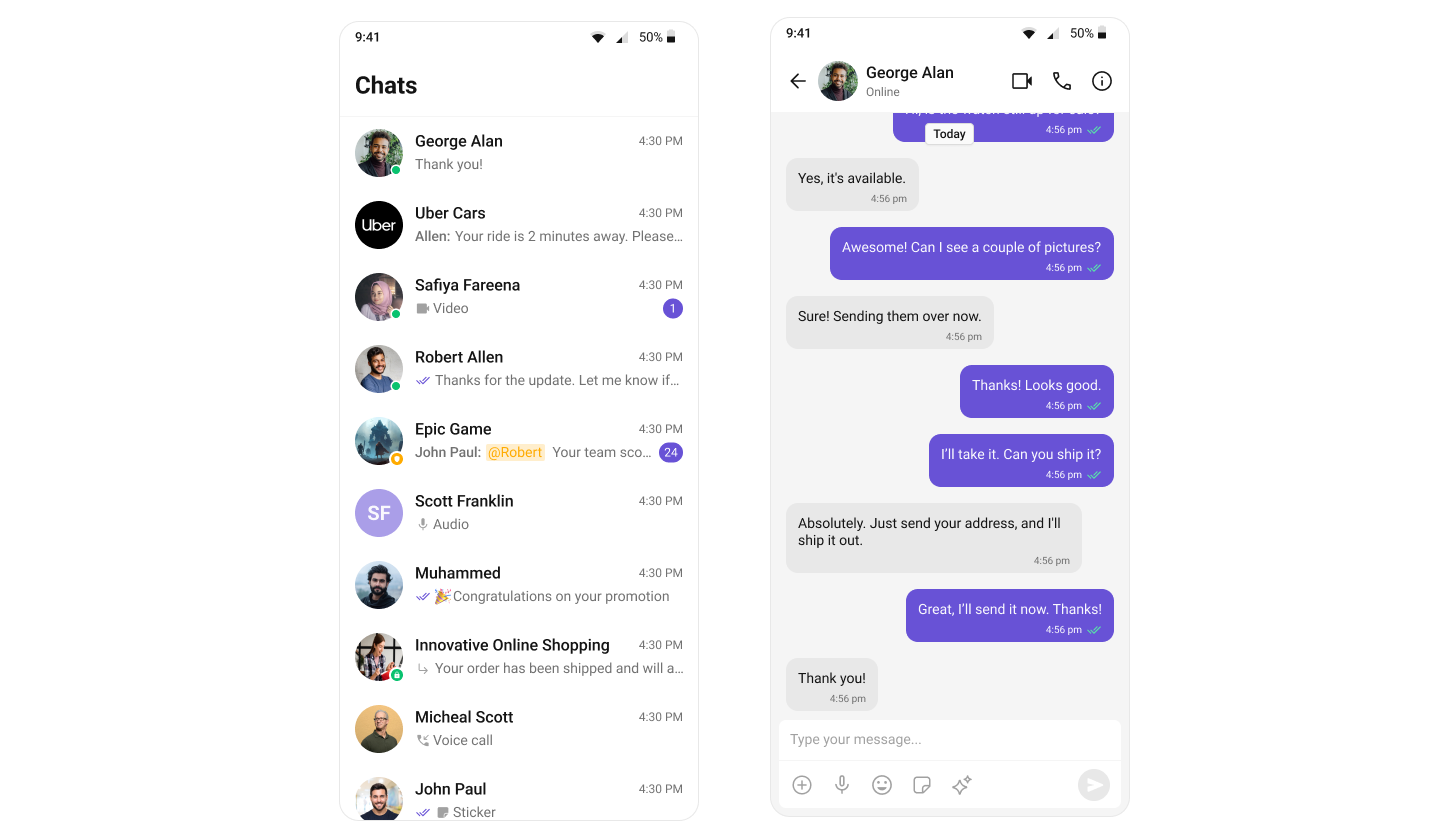
Conversation List + Message View
The Conversation List + Message View layout provides a seamless two-panel chat interface, commonly seen in modern messaging apps like WhatsApp Web, Slack, and Microsoft Teams.
This layout allows users to switch between conversations while keeping the active chat open, delivering a smooth, real-time messaging experience.
Step 1: Render the Conversation Component
The CometChatConversations widget displays all conversations related to the currently logged-in user. Follow the steps below to render this component:
Widget build(BuildContext context) {
return Scaffold(
body: SafeArea(
child: CometChatConversations(
showBackButton: true,
onItemTap: (conversation) {
final target = conversation.conversationWith;
Navigator.push(
context,
MaterialPageRoute(
builder: (_) => MessagesScreen(
user: target is User ? target : null,
group: target is Group ? target : null,
),
),
);
},
),
),
);
}
Full Example: main.dart
import 'package:flutter/material.dart';
import 'package:cometchat_chat_uikit/cometchat_chat_uikit.dart';
import 'package:cometchat_calls_uikit/cometchat_calls_uikit.dart'; //Optional: Include if you're using Audio/Video Calling
import 'messages_screen.dart';
import 'cometchat_config.dart';
void main() => runApp(const MyApp());
class MyApp extends StatelessWidget {
const MyApp({super.key});
Widget build(BuildContext context) {
return MaterialApp(
title: 'CometChat UI Kit',
theme: ThemeData(
colorScheme: ColorScheme.fromSeed(seedColor: Colors.deepPurple),
useMaterial3: true,
),
home: const Home(),
);
}
}
class Home extends StatelessWidget {
const Home({super.key});
Future<void> _initializeAndLogin() async {
final settings = UIKitSettingsBuilder()
..subscriptionType = CometChatSubscriptionType.allUsers
..autoEstablishSocketConnection = true
..appId = CometChatConfig.appId
..region = CometChatConfig.region
..authKey = CometChatConfig.authKey
..extensions = CometChatUIKitChatExtensions.getDefaultExtensions() //Replace this with empty array, if you want to disable all extensions
..callingExtension = CometChatCallingExtension(); //Optional: Include if you're using Audio/Video Calling
await CometChatUIKit.init(uiKitSettings: settings.build());
await CometChatUIKit.login(
'cometchat-uid-1',
onSuccess: (_) => debugPrint('✅ Login Successful'),
onError: (err) => throw Exception('Login Failed: $err'),
);
}
Widget build(BuildContext context) {
return FutureBuilder<void>(
future: _initializeAndLogin(),
builder: (ctx, snap) {
if (snap.connectionState != ConnectionState.done) {
return const Scaffold(
body: SafeArea(
child: Center(child: CircularProgressIndicator()),
),
);
}
if (snap.hasError) {
return Scaffold(
body: SafeArea(
child: Center(
child: Text(
'Error starting app:\n${snap.error}',
textAlign: TextAlign.center,
),
),
),
);
}
return const ConversationsPage();
},
);
}
}
class ConversationsPage extends StatelessWidget {
const ConversationsPage({super.key});
Widget build(BuildContext context) {
return Scaffold(
body: SafeArea(
child: CometChatConversations(
showBackButton: true,
onItemTap: (conversation) {
final target = conversation.conversationWith;
Navigator.push(
context,
MaterialPageRoute(
builder: (_) => MessagesScreen(
user: target is User ? target : null,
group: target is Group ? target : null,
),
),
);
},
),
),
);
}
}
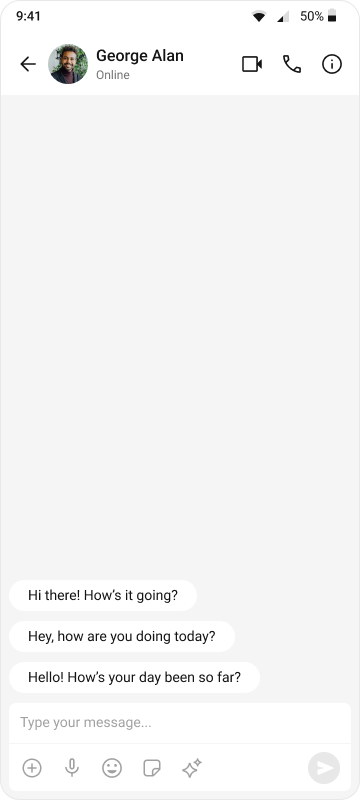
Step 2: Render the Messages Component
To create a complete messaging view, include the following components in messages_screen.dart:
import 'package:flutter/material.dart';
import 'package:cometchat_chat_uikit/cometchat_chat_uikit.dart';
class MessagesScreen extends StatefulWidget {
final User? user;
final Group? group;
const MessagesScreen({Key? key, this.user, this.group}) : super(key: key);
State<MessagesScreen> createState() => _MessagesScreenState();
}
class _MessagesScreenState extends State<MessagesScreen> {
Widget build(BuildContext context) {
return Scaffold(
appBar: CometChatMessageHeader(
user: widget.user,
group: widget.group,
),
body: SafeArea(
child: Column(
children: [
Expanded(
child: CometChatMessageList(
user: widget.user,
group: widget.group,
),
),
CometChatMessageComposer(
user: widget.user,
group: widget.group,
),
],
),
),
);
}
}
Step 3: Run the App
Use the following command to run the app on a connected device or emulator:
flutter run
This will launch the app and display the Conversation List. Tapping a conversation will navigate to the Message View.
Next Steps
Enhance the User Experience
- Advanced Customizations – Personalize the chat UI to align with your brand.